Getting Started with data-conductor
This guide will help you set up data-conductor and create your first data pipeline in just a few minutes.
Quick walkthrough of the setup process
Prerequisites
Before you begin, make sure you have:
- [ ] Access to a data-conductor instance
- [ ] Admin permissions for your organization
- [ ] Database connection details (if using SQL data steps)
Step 1: Organization Setup
When you first log into data-conductor, you'll need to configure your organization settings.
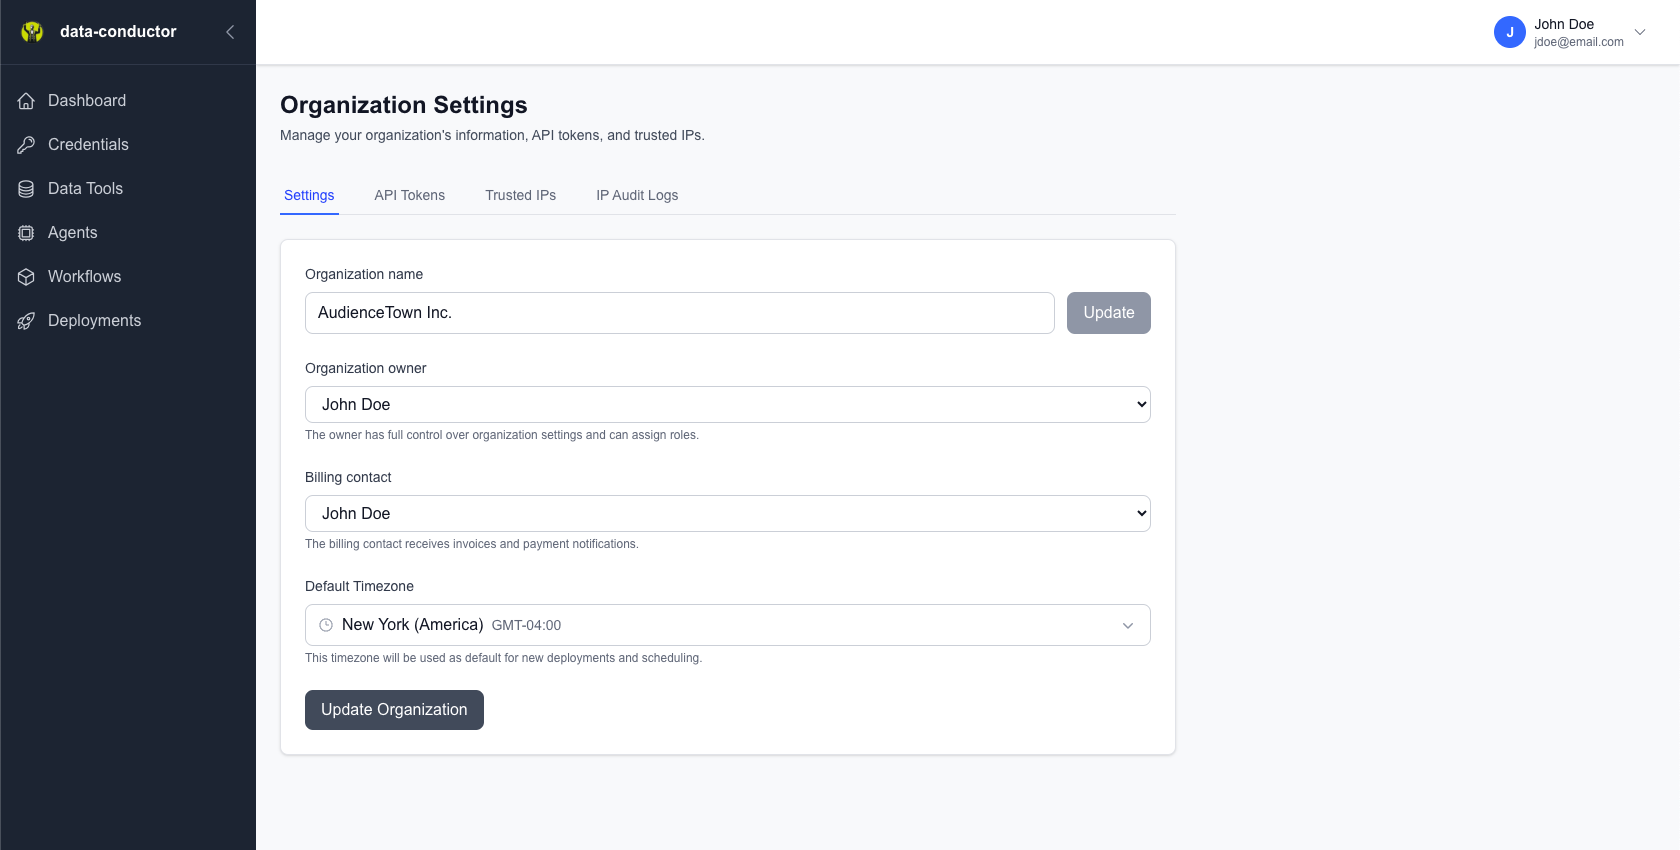 Organization settings page
Setting Up Your Organization
- Navigate to Organization in the main menu
- Fill in your organization details:
- Organization name
- Description
- Timezone (used for CRON scheduling)
 Configuring basic organization information
Creating API Tokens
API tokens are required for certain features like API deployments.
- Go to the API Tokens tab
- Click Create New Token
- Provide a name and description
- Save the token securely (you won't see it again)
 Creating your first API token
Security Note
API tokens provide access to your data-conductor instance. Store them securely and never share them publicly.
Step 2: Database Integration Setup
If you plan to use SQL data steps, you'll need to set up database integrations.
Setting up your first database connection
Adding SQL Integrations
- Navigate to Integrations (this may be in your admin panel)
- Click Add SQL Integration
- Configure your database connection:
- Name: A friendly name for your database
- Type: PostgreSQL, MySQL, etc.
- Host: Database server address
- Port: Database port
- Database: Database name
- Credentials: Username and password
 Configuring a database connection
Testing Your Connection
Always test your database connection:
- Click Test Connection
- Verify the connection succeeds
- Save your integration
 Successful database connection test
Step 3: IP Security (Optional but Recommended)
For enhanced security, configure trusted IP addresses.
 Managing trusted IP addresses
Adding Trusted IPs
- Go to Organization → Trusted IPs tab
- Click Add Trusted IP
- Enter IP addresses or CIDR ranges
- Add descriptions for easy management
IP Formats Supported
- Single IP:
192.168.1.100 - CIDR range:
192.168.1.0/24 - IPv6:
2001:db8::1
Step 4: Your First Data Step
Now let's create a simple data step to test everything works.
Step-by-step creation of your first data step
Creating a SQL Data Step
- Navigate to Data Builder
- Click + New → SQL Data Step
- Fill in the basic information:
- Name: "Test Data Step"
- Description: "My first data step"
- Select your database integration
- Write a simple SQL query:
SELECT
    'Hello data-conductor!' as message,
    NOW() as timestamp
 Writing your first SQL query
Testing Your Query
- Click the Execute button
- Review the results in the Results tab
- Verify your data looks correct
 Successful query execution
Saving Your Data Step
- Click Save when you're satisfied
- Your data step is now ready for deployment
Step 5: Your First Deployment
Let's deploy your data step so it can run automatically.
Deploying your first pipeline
Creating a CRON Deployment
- Navigate to Deployment Manager
- Click + New Deployment → Attach Pipeline to CRON
- Configure your deployment:
- Name: "Daily Test Run"
- Description: "Runs my test query daily"
- Workflow: Select your test data step
- Version: Use latest version
- Environment: PROD
- Schedule:
0 9 * * *(daily at 9 AM)
 Configuring a scheduled deployment
Monitoring Your Deployment
- Save your deployment
- Check the Jobs/Executions tab to monitor runs
- View execution logs and results
 Monitoring pipeline executions
Next Steps
Congratulations! You've successfully set up data-conductor and created your first pipeline. Here's what to explore next:
Immediate Next Steps
- Create more complex data steps with variables and transformations
- Set up API endpoints to trigger pipelines on-demand
- Explore pipeline variables for dynamic queries
Advanced Features
- IP Security - Secure your instance
- API Integrations - Connect external systems
- Troubleshooting - Common issues and solutions
Common Issues
Connection Problems
If you're having trouble connecting to your database:
- Check your firewall settings
- Verify credentials are correct
- Ensure the database server is accessible from data-conductor
- Test with a simple tool like
telnetfirst
Permission Issues
If you can't access certain features:
- Verify your user role and permissions
- Check with your organization administrator
- Ensure your IP address is in the trusted list
Execution Failures
If your pipelines aren't running:
- Check the execution logs in Jobs/Executions
- Verify your SQL syntax
- Ensure your database integration is still working
- Check for timeout issues with long-running queries
Need Help?
- FAQ - Common questions and answers
- Troubleshooting - Detailed problem-solving guide
- Contact Support - Reach out to your administrator
Ready to build more complex pipelines? Continue to Your First Pipeline!